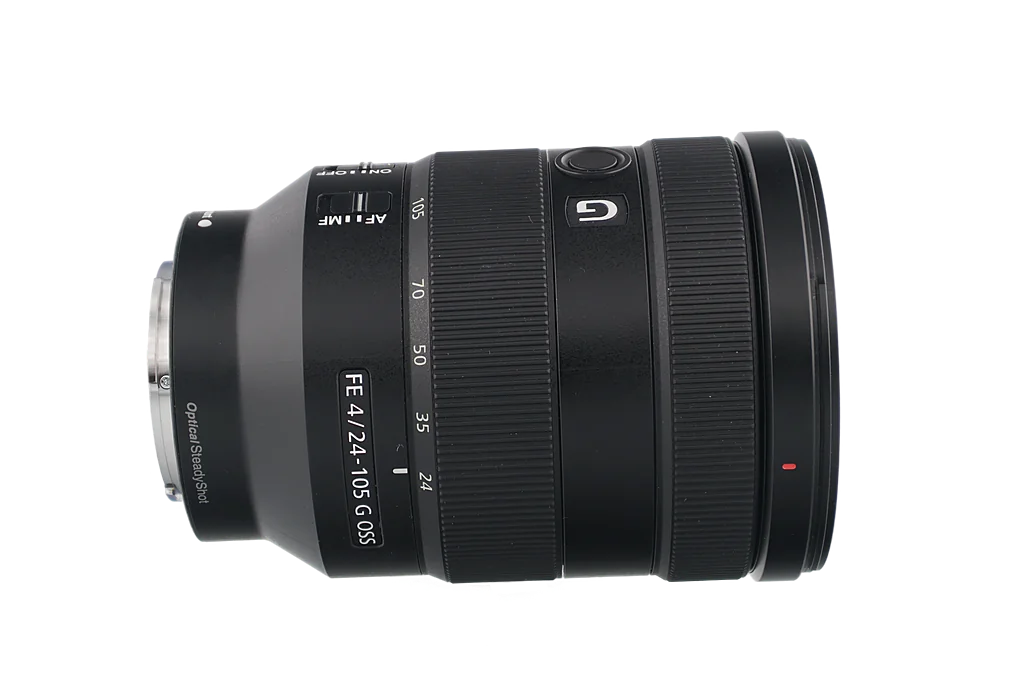
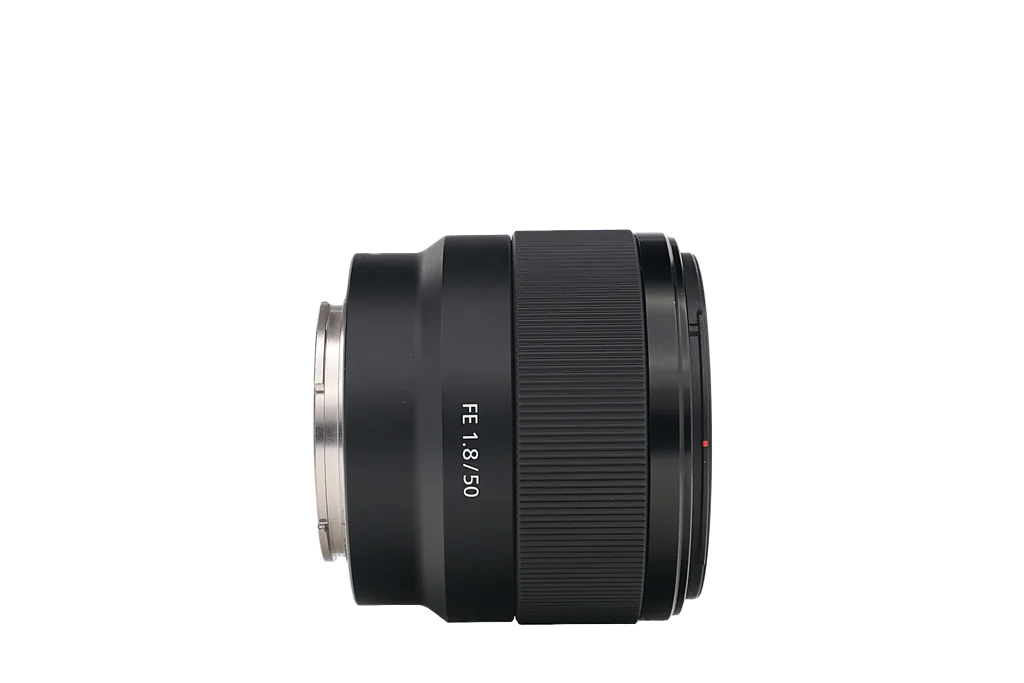
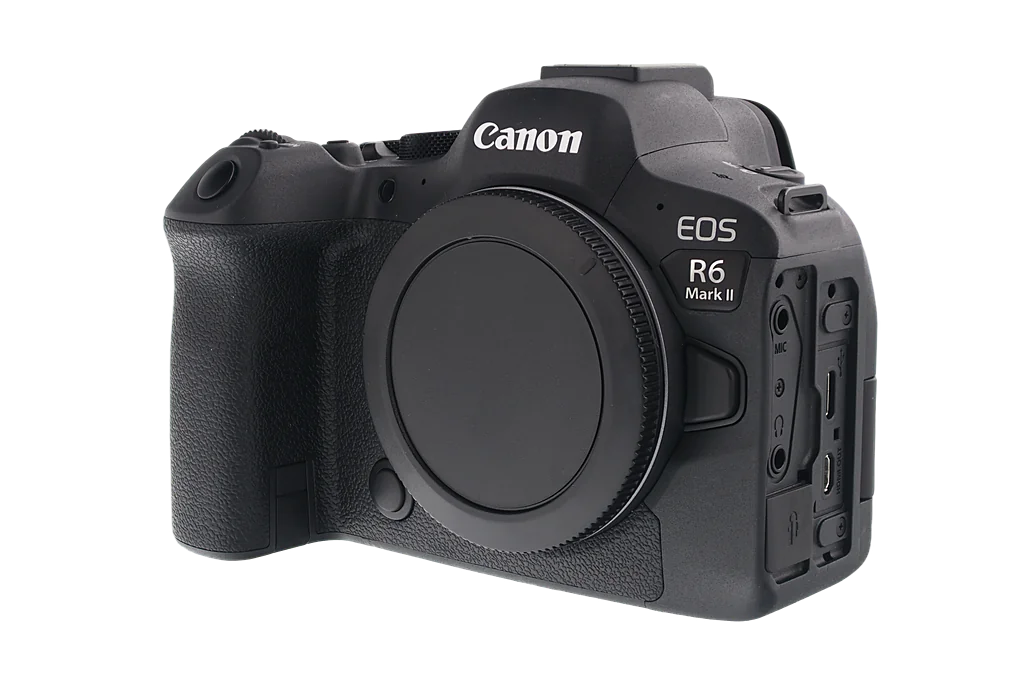
Avoid hidden issues
Spot problems early before they affect your photos.
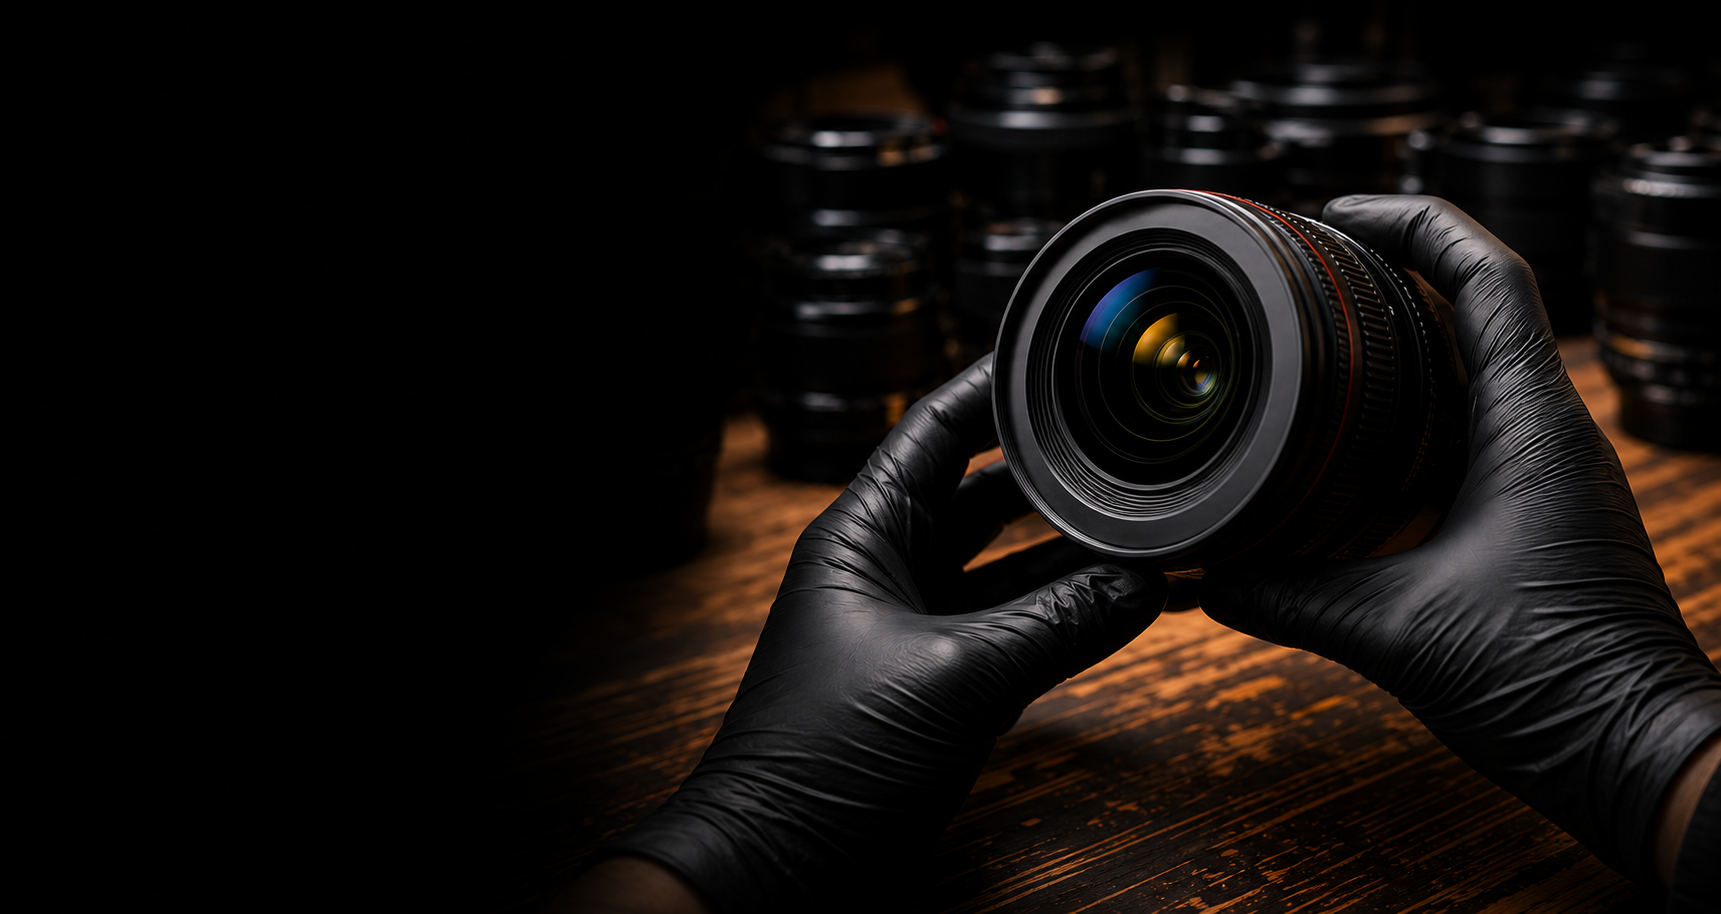
Buying guide
A practical checklist for examining a used lens and comparing its optical, mechanical and recorded condition before buying.
What you’ll learn
Lenses are precision instruments with many moving parts and glass elements. A careful inspection helps ensure you get the performance you expect and avoid costly surprises.
Spot problems early before they affect your photos.
Know exactly what you’re buying and what it’s worth.
Make informed decisions and enjoy your gear with peace of mind.
Care and service history provide context, but cannot guarantee remaining life.
Use these checks with the exact lens and camera manuals, alongside the seller’s recorded inspection results.
Check for scratches, chips, cracks and coating damage that can affect image quality.
Read inspection informationLook for scratches, marks or coating damage on the rear element and mount area.
Read inspection informationSmall dust particles are normal. Excessive dust can affect contrast and image quality.
Internal Dust ExplainedCheck for haze, fungus or etching which can degrade images over time.
Dust and fungus guidanceCheck visible blades for damage or contamination where the design allows. Do not force blades, levers or electronic mechanisms.
See our Inspection ProcessOn a compatible body, photograph the same subject at several apertures and check exposure and depth-of-field changes.
Read inspection informationCheck operation on a compatible powered camera. Focus-by-wire rings may behave differently when the camera is off.
Read inspection informationWhere fitted, check AF/MF switching and focus at near and distant targets. Confirm which functions the body and adapter support.
Read inspection informationWhere fitted, compare repeat images with stabilisation enabled and disabled using the model’s recommended settings.
Inspection informationInspect the mount for wear or damage and ensure contacts are clean and intact.
Grading StandardsLook for dents, cracks or heavy wear that could affect handling or sealing.
Grading StandardsConfirm all items match the listing — caps, hoods, pouches, collars and cases.
The Confidence StandardUse the checklist above when inspecting a lens in person; record anything you cannot check.
Check optics, aperture, focusing, stabilisation, mount and included accessories.
View lens checklistEvery lens we sell has been professionally inspected, graded and photographed with care.
We check every lens carefully so you can focus on what matters most — creating amazing images.
Browse Used LensesManufacturer references apply to the models or procedures they describe. Our checklists are practical buying guidance, not a certification of an individual item. Shop links are commercial links to ShutterXchange. Policies and support can change; check the linked source for the latest terms.
Found an error or need a model-specific answer? Contact support with the guide title or stock ID.