Every itemprofessionally inspected

72-image vieweron every item

Honest conservativegrading

12-monthwarranty

14-dayreturns

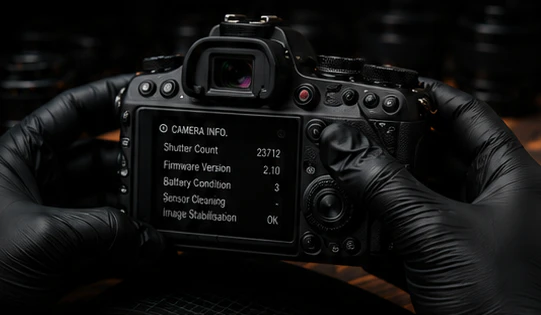
A camera being inspected by a specialist wearing gloves

Home › Learn › Buying guides › How to Check a Used Camera Before You Buy

Buying guide

How to Check a Used Camera Before You Buy

A practical checklist for examining a used camera, checking recorded results and identifying questions to resolve before buying.

10–12 min read Reference guide
What to check on the body
What to check on the lens
How to spot red flags
How we inspect every camera
What a trustworthy retailer provides

Why inspection matters

Every used camera has a story. A careful inspection helps ensure you are getting the performance you expect and the value you are paying for.

A careful check helps you

  • Avoid hidden issues
  • Understand true condition
  • Buy with confidence

A strong retailer provides

  • Real photos
  • Detailed inspection results
  • Clear warranty terms

Online buying guide

Bookmark this checklist to use when comparing gear.

How to Check a Used Camera Before You Buy

○Exterior condition

○Lens mount

○Sensor

○Shutter count

○Buttons and dials

View guide checklist
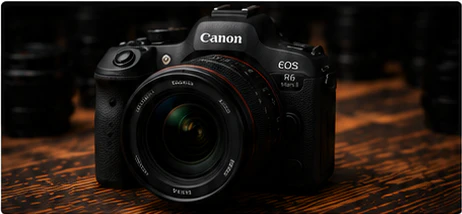
Canon camera prepared for inspection

Good news

The right information turns a used-gear decision into a confident one.

The used camera inspection checklist

Use these buyer checks alongside the model’s manual and the actual item’s inspection report.

1

Exterior condition

Check for scratches, dents, paint wear and impact damage.

Learn more
2

Lens mount

Inspect the mount for wear, scratches and secure fitting.

Learn more
3

Sensor

Review test images for repeated spots or marks. Follow the model’s manual; never touch the sensor or shutter.

Learn more
4

Shutter count

Ask for the count, method and date where available. Age and cosmetic grade do not establish an expected count.

Learn more
5

Buttons and dials

Test every button, dial and switch.

Learn more
6

Screen and EVF

Check scratches, dead pixels, brightness and clarity.

Learn more
7

Autofocus system

Test single and continuous autofocus across the frame.

Learn more
8

Image stabilisation

Where fitted, compare repeat shots with stabilisation on and off using the manual’s recommended settings.

Learn more
9

Ports and connections

Using compatible cables and devices, check the ports you need. Record anything not tested.

Learn more
10

Battery and door

Check the correct battery and charger are included, inspect for swelling or damage, and confirm the door latches. Do not use damaged batteries.

Learn more

Things worth checking more closely

  • Hot or dead pixels on the sensor
  • Excessive wear on the grip or controls
  • Unusual noises when powering on or focusing
  • Signs of moisture or liquid damage
  • Missing accessories or incomplete listings

How a professional inspection helps

  • Accurate condition grading
  • Real photos of the actual item
  • Shutter count where available
  • Included accessories clearly listed
  • Functional tests recorded

What every good retailer provides

  • Warranty details
  • Clear returns policy
  • Professional inspection
  • Responsive support
  • Secure payment options

Why buy from ShutterXchange?

Professionally inspected. Honest grading. Total transparency.

Professionally inspected

Read the inspection results for the exact item.

Learn more →

Conservative grading

Our grades are honest and fair.

Learn more →

72-image viewer

See every angle in detail.

Learn more →

Warranty included

Check eligibility, cover and exclusions.

Learn more →

Buying support

Help before and after you buy.

Learn more →
Camera bodies and lenses displayed in the ShutterXchange studio

Buy with confidence. We have done the hard work for you.

Every camera is inspected, graded and photographed so you can buy with complete peace of mind.

Browse camera gear

A practical camera check, step by step

  1. Bring a compatible lens, charged battery and memory card. With the seller’s agreement, save original test files and note the body model, stock ID and the functions you could not check.
  2. Use a static subject in good light to check single autofocus, then a moving subject for continuous autofocus. Review several images at full size; motion blur or an unsuitable setting can look like a fault.
  3. Check a plain, evenly lit subject at a small aperture for recurring spots, following the manufacturer’s instructions. Compare files on another screen to distinguish image defects from display defects.
  4. Do not touch the sensor, mirror or shutter, use compressed air inside the body, or force any mechanism. Sony’s cleaning guidance below gives a model-dependent procedure; use the correct manual or a qualified service provider.
  5. Record results for the ports, card slots, video modes and controls you need. A short viewing cannot establish battery capacity, long-recording thermal behaviour or every intermittent fault.

A real report: read each finding separately

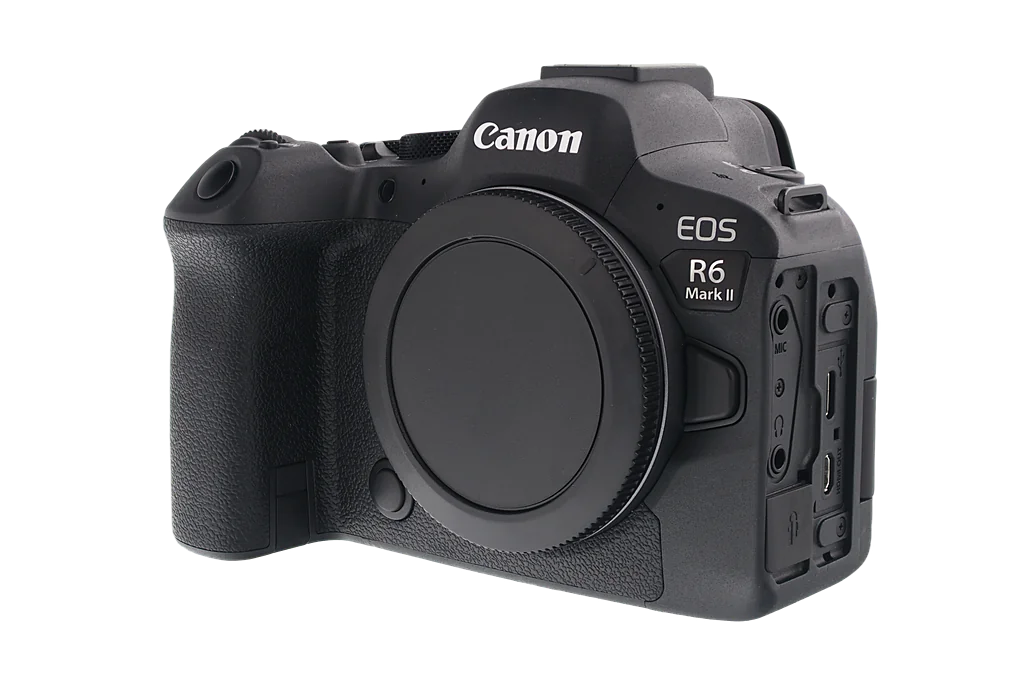
When checked on 15 September 2026, our report for Canon EOS R6 Mark II stock item SXC-00000332 showed an Excellent cosmetic grade and light scratches or scuffs. It also contained individual results marked N/A. The grade describes appearance; an N/A entry is not a passed test. Ask what an unclear result means for the functions you need. This is a dated example of a real report, not a claim that the item is still available or that its report cannot change.

Sources and scope

Manufacturer references apply to the models or procedures they describe. Our checklists are practical buying guidance, not a certification of an individual item. Shop links are commercial links to ShutterXchange. Policies and support can change; check the linked source for the latest terms.

Found an error or need a model-specific answer? Contact support with the guide title or stock ID.